
Canvas prints can be treated just as paper prints but with the extra advantage of not having to frame them behind glass! So you get to enjoy all the detail with any glare!
Framing a print can seem like a daunting task, but it doesn't have to be. With a little bit of patience and the right materials, you can turn your favourite prints into professional-looking pieces of art. In this blog post, we'll walk you through a step-by-step guide on how to frame a print yourself.
We'll be focusing on a simple method that involves using a frame, backboard, and tape. This method is straightforward and doesn't require any fancy tools. So, let's jump right in!
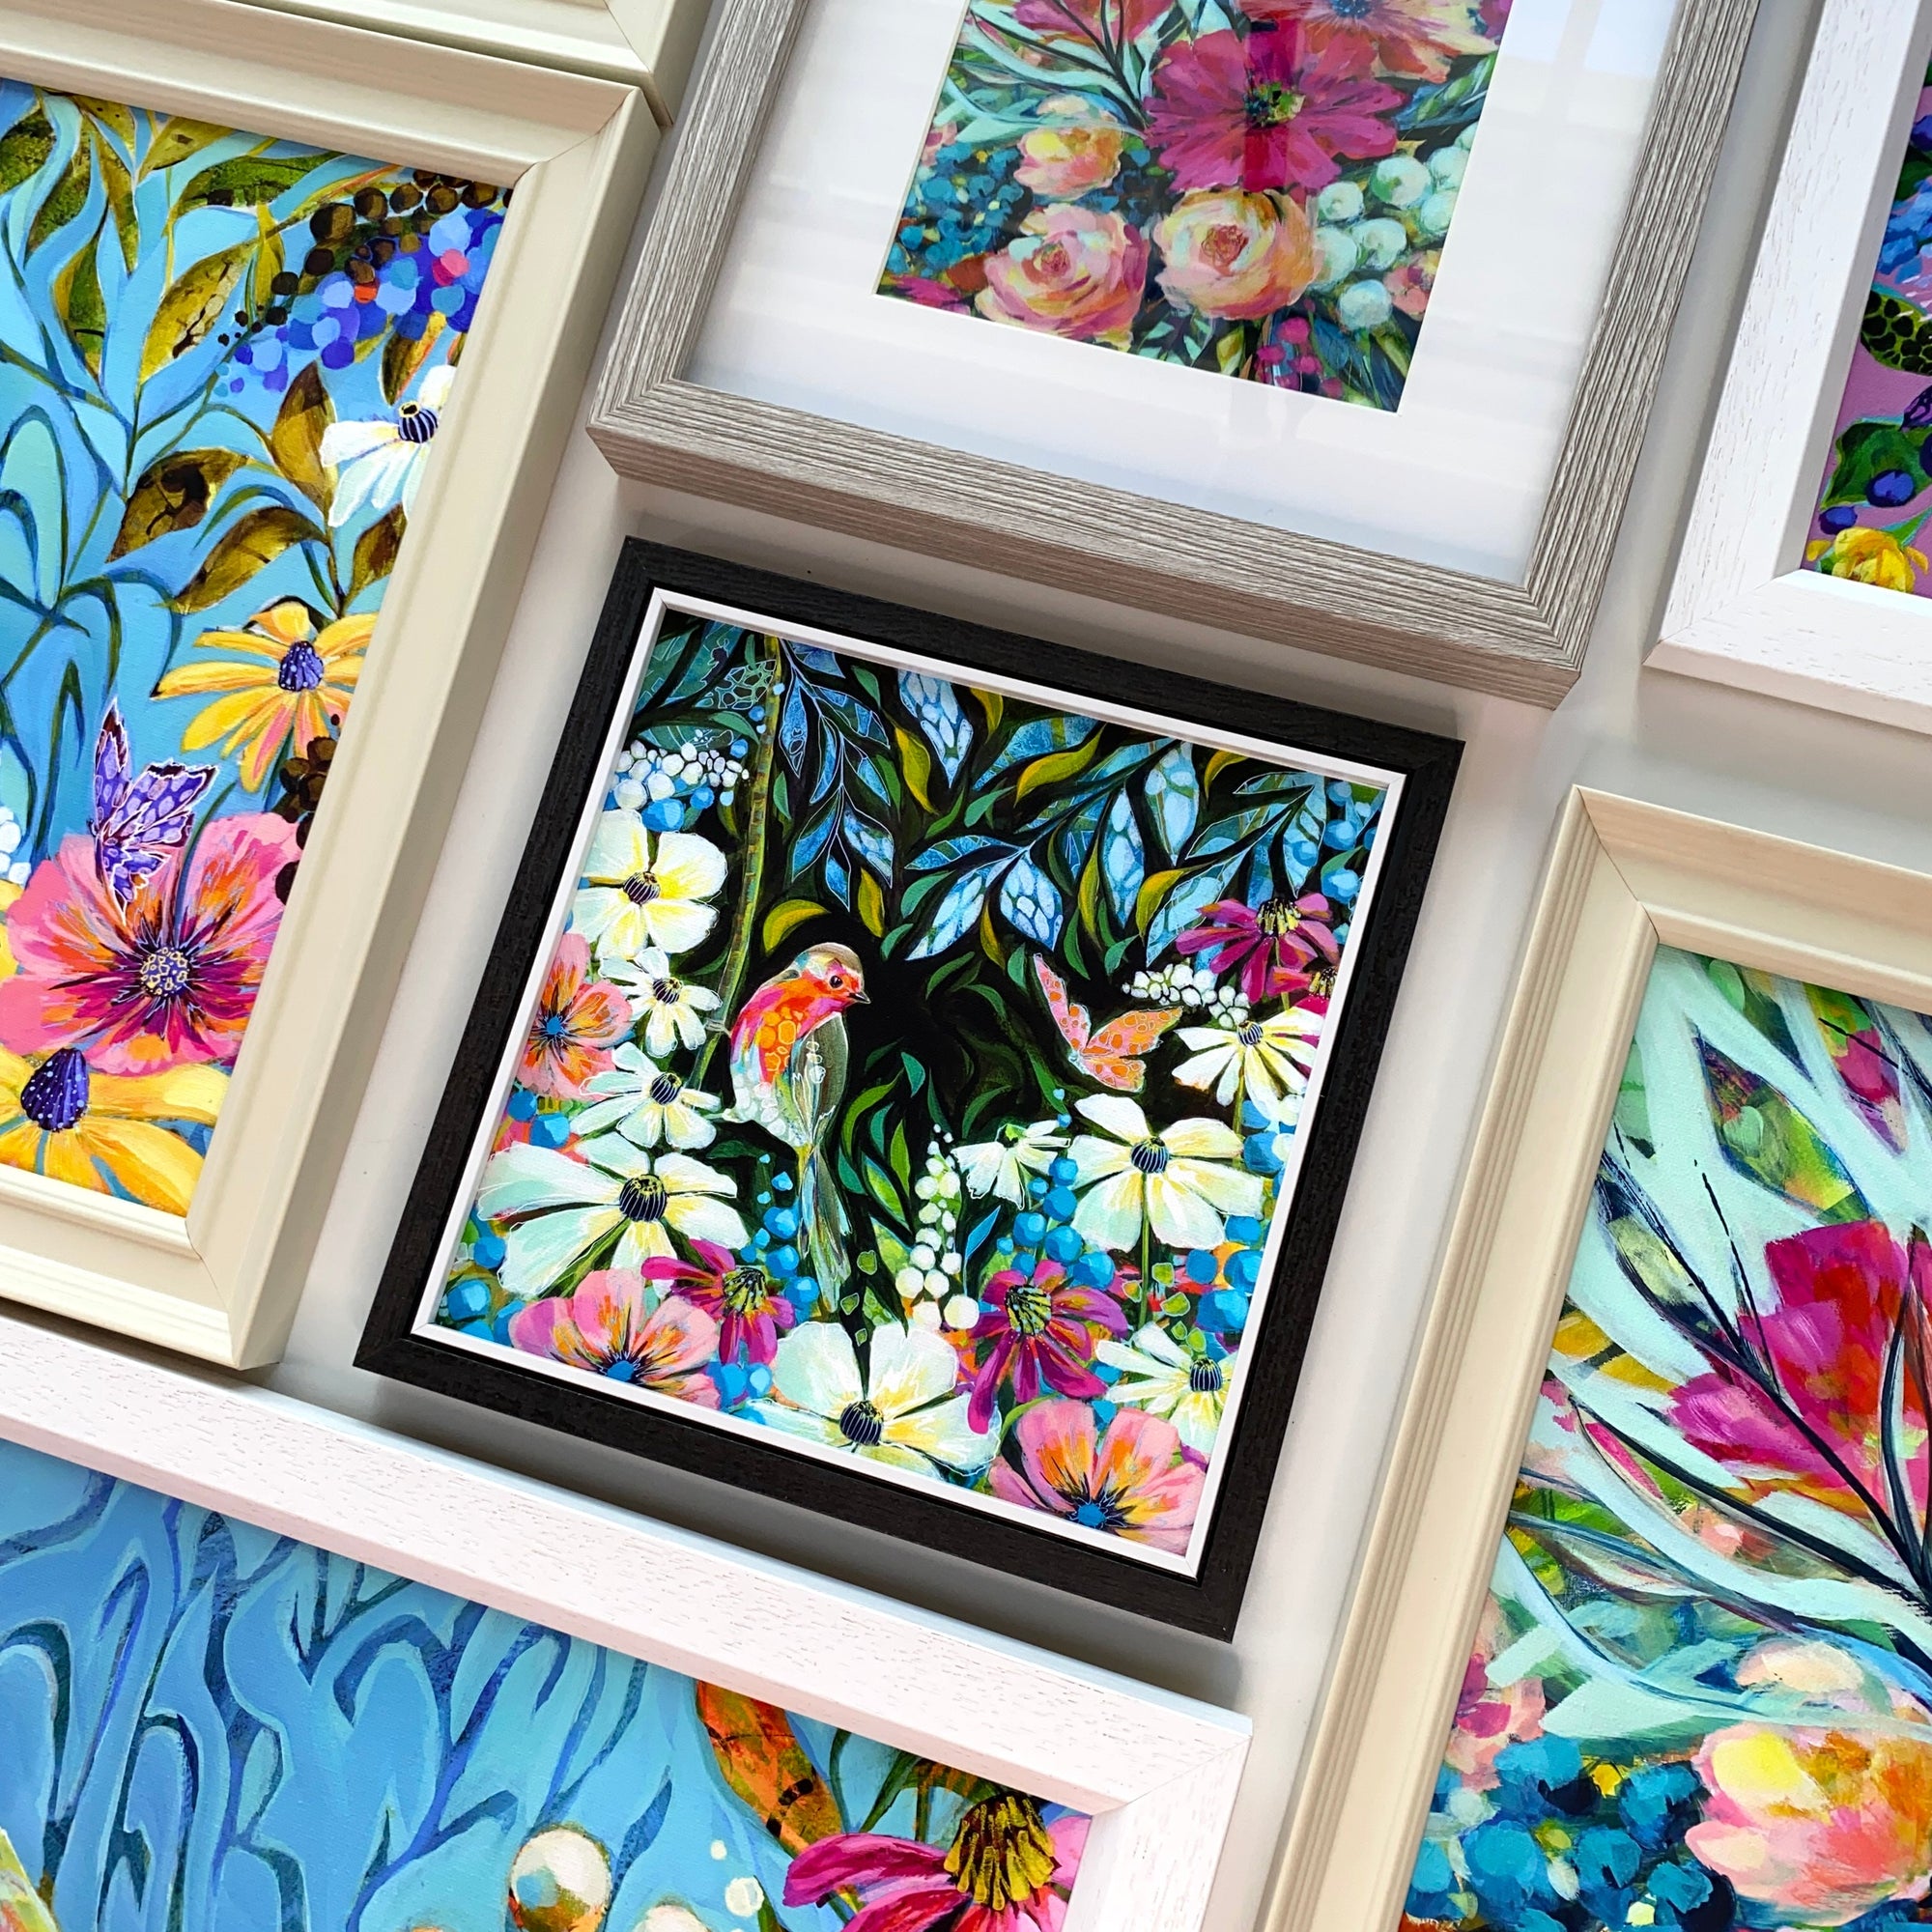
Lets start with a canvas print framed without glass and without a mount, which gives the look of an original painting.
You will need:
- Standard frame ( in a size to hold your print)
- Your print
- Scissors
- Acid free double sided tape
- A flat head screw driver to secure tabs on the back of your frame

Step 1: Preparing the Frame
The first thing you need to do is to prepare your frame. This involves removing the backboard from the frame. The backboard is the flat piece that sits behind your print, providing support and stability. It's typically secured with small tabs or clips that can be easily bent or unscrewed. Once you've removed the backboard, set aside the frame for later use.
 Step 2: Cutting the Tape
Next, you'll need to cut a piece of tape to the size of your frame. The tape will be used to secure your print to the backboard. You can use any type of tape that won't damage your print. However, we recommend using a tape specifically designed for framing, as these tapes are usually acid-free and won't harm your art.
 Step 3: Attaching the Tape
With your tape cut to the right size, it's time to attach it to the backboard. Place the tape around the edge of the backboard. Make sure it's evenly spaced and covers the entire perimeter. This will ensure your print is securely held in place.
Now, you'll need to prepare your print for framing. Start by peeling away the backing from the tape on the backboard. This will expose the adhesive side of the tape.
 Step 4: Preparing and adhering the Print
Then, line up your print with the top of the frame. This is an important step, as it ensures your print is centred and straight. Take your time with this step – it's better to move slowly and get it right than to rush and end up with a crooked print.
With your print lined up, it's time to adhere it to the tape. Press down gently but firmly to ensure the print sticks to the tape. Make sure to press down all over the print, especially the edges, to ensure a secure bond.
 Step 5: Finalizing the Framing
The last step in the process is to put everything back together. Start by turning over the backboard so that the print is facing down. Then, place the backboard (and the print) back into the frame.
Finally, secure the backboard in place by pressing down on the tabs or clips that you initially used to remove the backboard. This will ensure the backboard, and your new framed print, stays securely in place.
 Congratulations
You've successfully framed your print.
Now all that's left to do is to find the perfect spot to hang it.
I hope this step-by-step guide has made framing your canvas print a little easier.
Happy framing!